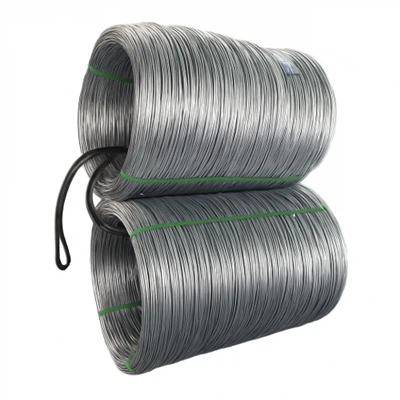
Hey there! As a supplier of Welding Angle Bar, I often get asked about the welding sequence for multiple angle bars. It's a crucial topic, especially for those working on construction, manufacturing, or any project that involves joining these bars together. In this blog, I'll break down the ins and outs of the welding sequence for multiple angle bars and share some tips to make your welding projects a success.
Understanding Angle Bars
Before we dive into the welding sequence, let's quickly go over what angle bars are. Angle bars, also known as angle irons, are L-shaped structural steel or stainless steel bars. They're commonly used in construction, machinery, and various industrial applications due to their strength and versatility. You can find different types of angle bars, such as Stainless Steel 304 Angle Bar and L Type Angle Bar.
Why the Welding Sequence Matters
The welding sequence is super important when working with multiple angle bars. A proper sequence helps to minimize distortion, reduce stress in the welded structure, and ensure the overall integrity of the joint. If you weld the bars in the wrong order, you might end up with a warped or weak structure, which can lead to safety issues and costly repairs down the line.
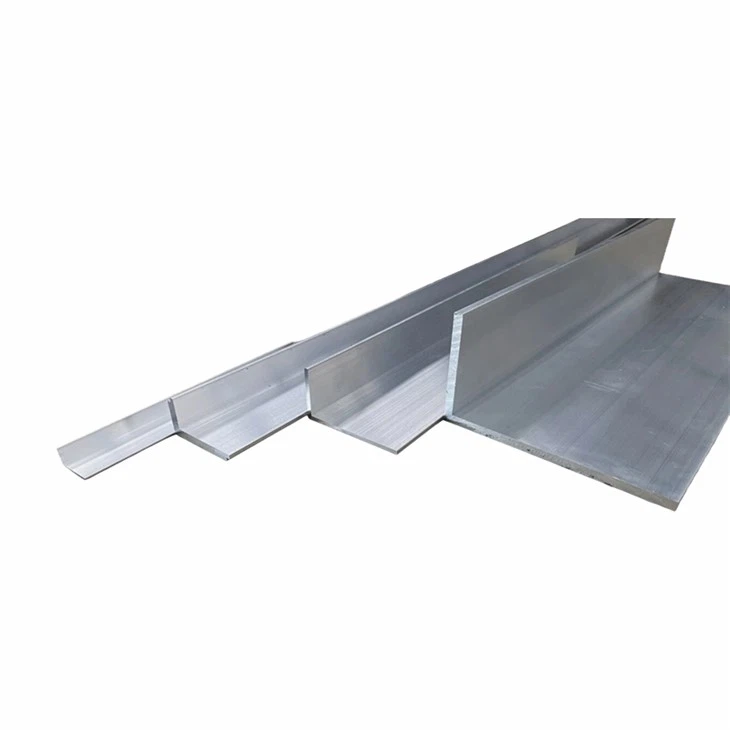

Factors to Consider Before Welding
Before you start welding multiple angle bars, there are a few factors you need to consider:
- Material and Thickness: Different materials and thicknesses require different welding techniques and parameters. Make sure you know the type of angle bars you're working with and adjust your welding settings accordingly.
- Joint Design: The joint design, such as the type of weld (fillet weld, butt weld, etc.) and the fit-up of the bars, will also affect the welding sequence.
- Welding Position: The position of the angle bars during welding (flat, horizontal, vertical, or overhead) can impact the quality of the weld. Choose the most suitable position for your project and adjust your welding sequence as needed.
- Welding Equipment: Use the right welding equipment, such as a welding machine, electrodes, and protective gear, to ensure a successful weld.
General Welding Sequence for Multiple Angle Bars
Here's a general welding sequence that you can follow when working with multiple angle bars:
- Prepare the Angle Bars: Clean the surface of the angle bars to remove any dirt, rust, or oil. This will help to ensure a good weld. You can use a wire brush or a grinder to clean the bars.
- Fit the Angle Bars Together: Align the angle bars according to your joint design and secure them in place using clamps or tack welds. Make sure the bars are properly aligned and the gaps between them are within the acceptable range.
- Start with Tack Welds: Tack welds are small, temporary welds that hold the angle bars together before the final welding. Start by making tack welds at regular intervals along the joint. The size and spacing of the tack welds will depend on the thickness of the bars and the joint design.
- Weld the First Pass: Once the tack welds are in place, start welding the first pass. The first pass is usually a root pass, which fills the root of the joint. Use a welding technique that is suitable for the joint design and the position of the bars.
- Weld the Subsequent Passes: After the first pass, weld the subsequent passes to build up the weld bead. Make sure to clean the weld bead between each pass to remove any slag or impurities. The number of passes will depend on the thickness of the bars and the joint design.
- Control the Heat Input: To minimize distortion and stress in the welded structure, control the heat input during welding. You can do this by adjusting the welding current, voltage, and travel speed. Avoid overheating the bars, as this can lead to warping and cracking.
- Weld the Opposite Side: If you're welding a double-sided joint, weld the opposite side of the joint after the first side is complete. This will help to balance the stress in the structure and reduce distortion.
- Inspect the Weld: Once the welding is complete, inspect the weld for any defects, such as cracks, porosity, or incomplete fusion. Use a non-destructive testing method, such as visual inspection, ultrasonic testing, or magnetic particle testing, to check the quality of the weld.
Tips for a Successful Weld
Here are some tips to help you achieve a successful weld when working with multiple angle bars:
- Use the Right Welding Technique: Choose a welding technique that is suitable for the joint design, the position of the bars, and the material you're working with. Some common welding techniques for angle bars include shielded metal arc welding (SMAW), gas metal arc welding (GMAW), and flux-cored arc welding (FCAW).
- Control the Welding Speed: Maintain a consistent welding speed to ensure a uniform weld bead. If you weld too fast, the weld bead may be too thin and weak. If you weld too slow, the weld bead may be too thick and cause distortion.
- Keep the Welding Arc Short: A short welding arc helps to control the heat input and improve the quality of the weld. Keep the arc length between 1/8 and 1/4 inch.
- Use the Right Electrode or Wire: Choose an electrode or wire that is compatible with the material you're welding. The electrode or wire should have the same or similar chemical composition as the angle bars.
- Wear Protective Gear: Always wear protective gear, such as a welding helmet, gloves, and apron, to protect yourself from the heat, sparks, and fumes generated during welding.
Special Considerations for Different Welding Positions
The welding position can have a significant impact on the welding sequence and the quality of the weld. Here are some special considerations for different welding positions:
- Flat Position: Welding in the flat position is the easiest and most common position. You can use a variety of welding techniques, such as SMAW, GMAW, and FCAW, in the flat position. Make sure to keep the welding arc short and the welding speed consistent.
- Horizontal Position: Welding in the horizontal position can be more challenging than welding in the flat position. You need to be careful to prevent the molten metal from flowing down the joint. Use a welding technique that is suitable for the horizontal position, such as the horizontal fillet weld technique.
- Vertical Position: Welding in the vertical position requires more skill and control than welding in the flat or horizontal position. You need to be careful to prevent the molten metal from flowing down the joint. Use a welding technique that is suitable for the vertical position, such as the vertical up or vertical down welding technique.
- Overhead Position: Welding in the overhead position is the most challenging position. You need to be careful to prevent the molten metal from falling on you. Use a welding technique that is suitable for the overhead position, such as the overhead fillet weld technique.
Conclusion
The welding sequence for multiple angle bars is an important aspect of any welding project. By following the general welding sequence and considering the factors mentioned above, you can minimize distortion, reduce stress, and ensure the overall integrity of the welded structure. Remember to use the right welding equipment, techniques, and protective gear, and always inspect the weld for any defects.
If you're looking for high-quality Welding Angle Bar, we're here to help. We offer a wide range of angle bars in different materials, sizes, and shapes to meet your specific needs. Contact us today to discuss your requirements and get a quote. We're always happy to help you with your welding projects!
References
- AWS D1.1/D1.1M:2020, Structural Welding Code - Steel
- ASME Boiler and Pressure Vessel Code, Section IX, Welding and Brazing Qualifications